Good residential area lighting does more than brighten streets: it shapes how safely people move, how comfortable homes feel after dark, and how much energy a neighborhood consumes over time. This article explains the core design decisions behind effective residential lighting, from visibility, uniformity, and glare control to fixture placement, standards compliance, and long-term efficiency. You’ll see how designers balance pedestrian and driver safety with resident privacy, dark-sky considerations, and maintenance costs. With that foundation, the rest of the article examines the practical principles and site-specific factors that turn lighting plans into reliable, well-performing community infrastructure.
Why Residential Area Lighting Design Matters
Effective residential area lighting design serves as the foundational infrastructure for community security, operational sustainability, and nighttime aesthetic appeal. Master planning in this domain requires moving beyond simple illumination to address complex human-centric and environmental variables.
A well-engineered lighting network seamlessly integrates into the architectural fabric of a neighborhood while strictly governing energy consumption and mitigating ecological disruption.
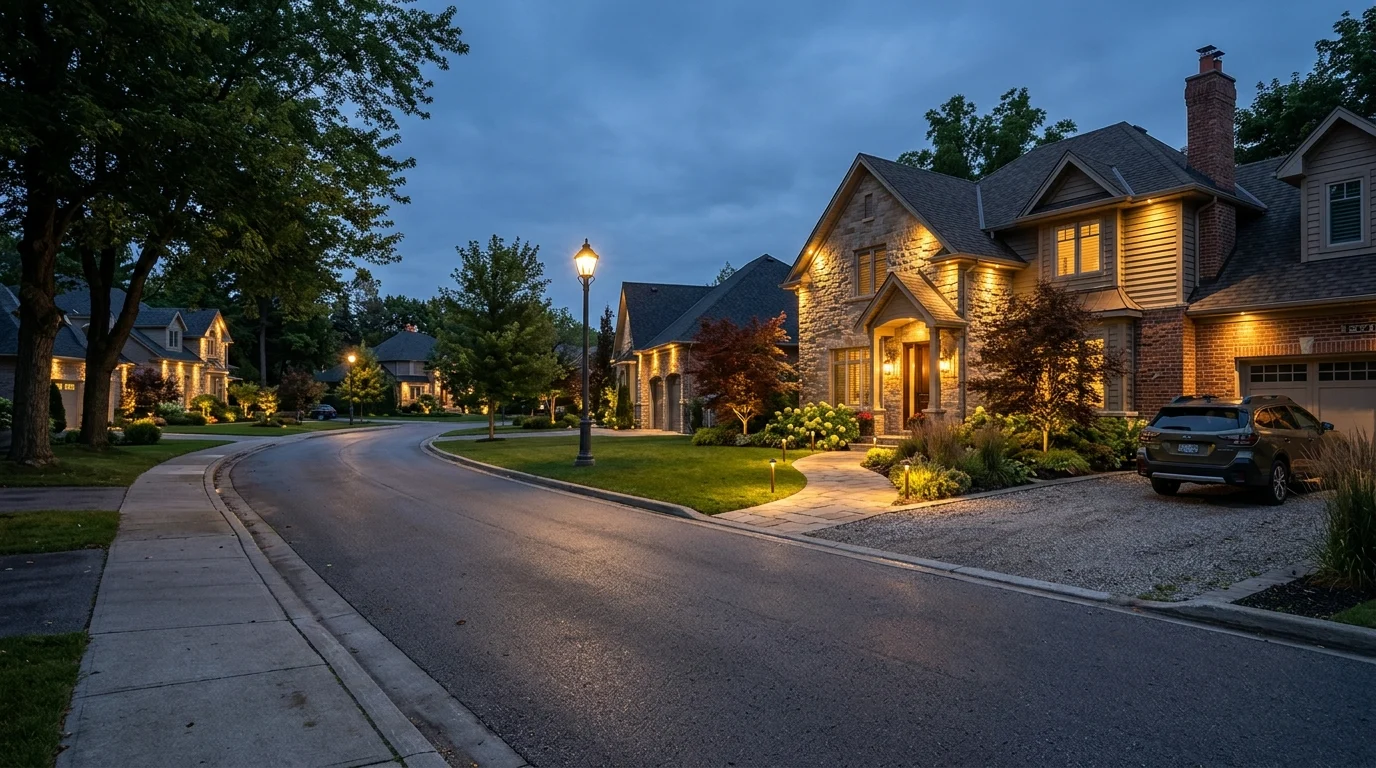
Safety, visibility, and resident comfort
Urban planners and lighting designers prioritize safety by ensuring clear visibility for both drivers and pedestrians, which directly mitigates vehicular accidents and deters illicit activities. However, resident comfort mandates strict control over light trespass and glare. High-intensity discharge or poorly shielded fixtures often result in light pollution that disrupts circadian rhythms and degrades the nocturnal environment.
Modern designs mitigate this by adhering to stringent BUG (Backlight, Uplight, Glare) rating limits established by industry authorities. For instance, specifying fixtures with a U0 (zero uplight) rating ensures dark-sky compliance, while capping backlight limits light trespass into bedroom windows to below 0.1 footcandles at the residential property line. Additionally, the strategic use of house-side shields can further restrict stray light, maintaining the delicate balance between public safety and private comfort.
Key goals, standards, and site conditions
Navigating the regulatory landscape requires adherence to established frameworks such as the Illuminating Engineering Society (IES) RP-8-18 standards for roadway and parking facility lighting. A primary goal is achieving the correct baseline illuminance based on the specific site classification and pedestrian conflict levels.
For a typical local residential street with low pedestrian traffic, standards often dictate an average maintained illuminance of 4.0 to 6.0 lux, with an average-to-minimum uniformity ratio not exceeding 6:1. Site conditions—including mature canopy trees, variable setback distances, and curved road geometries—necessitate dynamic 3D modeling. Engineers must calculate accurate light loss factors (LLF), typically utilizing a combined maintenance factor of around 0.85 for LED luminaires in clean environments, to guarantee that end-of-life lumen depreciation and dirt depreciation do not push visibility below these critical safety thresholds.
How to Balance Performance and Efficiency
Striking the optimal balance between photometric performance and energy conservation is the central technical challenge in modern exterior lighting. Engineers must synthesize spatial geometry with advanced luminaire technology to minimize wattage while maximizing visual acuity and uniformity across the entire residential grid.
Illuminance, uniformity, optics, and pole layout
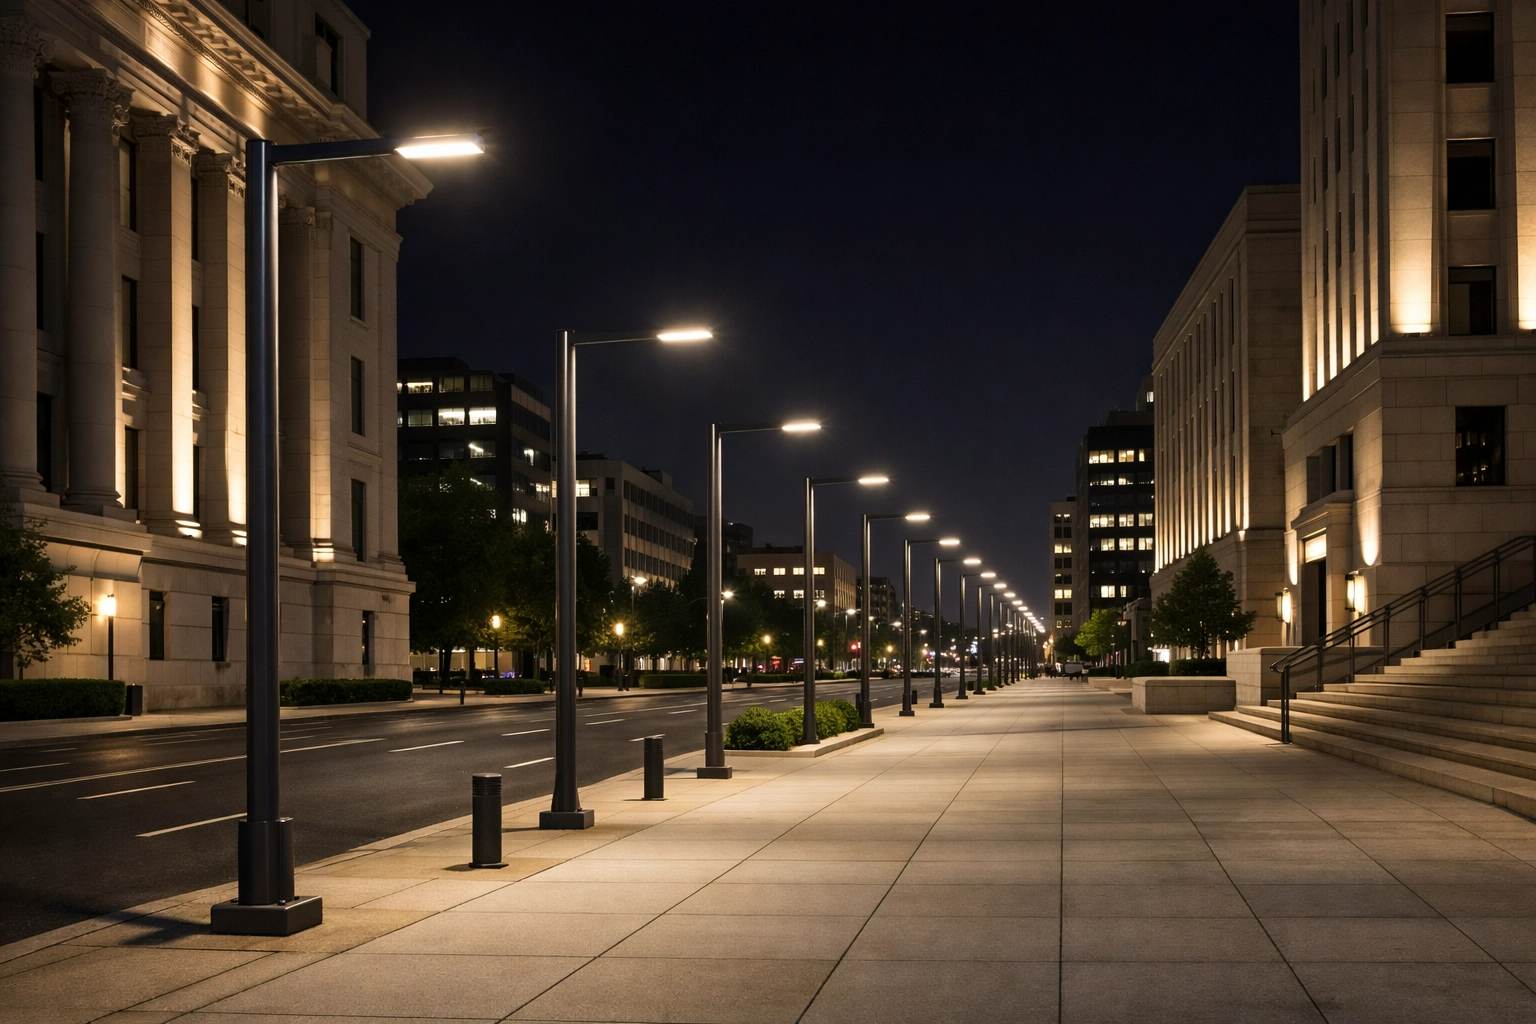
Achieving uniform light distribution prevents the creation of hazardous dark zones and high-glare hot spots. Designers utilize specific optical distribution patterns to push light exactly where it is needed, minimizing wasted lumens. Pole layout geometry is highly dependent on mounting height, luminaire output, and the selected optic.
An optimized staggered layout typically utilizes a spacing-to-mounting-height ratio of 5:1 to 7:1. For example, fixtures mounted at 15 feet might be spaced 75 to 105 feet apart. This ratio ensures that the uniformity gradient remains smooth, keeping the maximum-to-minimum illuminance ratio strictly under the 10:1 threshold required to prevent transient adaptation issues for drivers.
| Optical Distribution | Beam Characteristics | Ideal Residential Application | Typical Spacing Ratio |
|---|---|---|---|
| Type II | Narrow, asymmetric | Narrow local streets, pathways | 5:1 to 7:1 |
| Type III | Wide, asymmetric | Standard residential roads, cul-de-sacs | 4.5:1 to 6:1 |
| Type V | Circular, symmetric | Intersections, large open plazas | 4:1 to 5:1 |
LED fixtures, color temperature, and controls
The transition to solid-state lighting has revolutionized efficiency, but fixture selection requires rigorous specification. Contemporary residential projects demand LED luminaires with a minimum luminous efficacy of 130 to 150 lumens per watt to ensure regulatory compliance and maximize energy savings.
Color temperature is equally critical; lighting experts and medical associations recommend a Correlated Color Temperature (CCT) of 2700K to 3000K to minimize blue-light emission, thereby protecting nocturnal ecosystems and reducing atmospheric scattering. Integrating networked lighting controls via Zhaga receptacles or NEMA sockets further enhances efficiency.
By implementing part-night dimming profiles—such as reducing output by 50% between midnight and 5:00 AM when traffic is minimal—municipalities and homeowners’ associations can achieve an additional 20% to 30% reduction in energy consumption. These control nodes also enable real-time energy metering and automated fault reporting, transforming passive infrastructure into a responsive smart-city asset.
How to Execute and Manage the Project
Successful deployment of a residential lighting network relies on rigorous project management methodologies. From the initial environmental audit to long-term asset management, predictable execution minimizes capital expenditure overruns, accelerates deployment schedules, and prevents operational disruptions.
Site assessment, photometric planning, and installation
The execution phase begins with a comprehensive site assessment, leveraging geographic information systems (GIS) to map utility conflicts, right-of-way boundaries, and existing underground infrastructure. Lighting engineers then utilize advanced photometric software, such as AGi32 or DIALux, to generate precise point-by-point illuminance calculations.
These simulations typically overlay a calculation grid with 2-foot by 2-foot intervals across both the pedestrian and vehicular planes to validate compliance with the specified design criteria. During physical installation, meticulous attention must be paid to electrical engineering fundamentals. This includes verifying voltage drop calculations over long underground circuit runs, ensuring that voltage fluctuations remain within a tight ±3% tolerance to prevent premature driver failure.
Additionally, structural engineers must specify appropriate concrete foundation depths—often 4 to 6 feet, depending on wind load ratings and soil bearing capacity—to secure the light poles against extreme weather events.
Procurement, risk, and lifecycle management
Procurement strategies must account for total cost of ownership (TCO) and lifecycle return on investment (ROI) rather than strictly focusing on initial unit costs. Specifiers mitigate physical risk by demanding robust environmental protections in the procurement documents.
This includes mandating IP66-rated optical enclosures to prevent water and dust ingress, alongside 10kV/10kA surge protection devices to shield sensitive electronics from transient voltage spikes. Lifecycle management centers on establishing predictable maintenance schedules and minimizing operational overhead.
Procuring luminaires with a certified L70 lumen maintenance life exceeding 100,000 hours drastically reduces the frequency of costly truck rolls.
Key Takeaways
- The most important conclusions and rationale for Residential Area Lighting Design
- Specs, compliance, and risk checks worth validating before you commit
- Practical next steps and caveats readers can apply immediately
Frequently Asked Questions
What pole height works best for residential area lighting?
For many neighborhood roads, 12 to 18 ft poles balance coverage and visual comfort. Final height should match road width, tree cover, and the chosen optic to keep uniformity and glare under control.
How far apart should residential lighting poles be placed?
A practical starting point is 5:1 to 7:1 spacing-to-mounting-height. For 15 ft poles, that usually means about 75 to 105 ft apart, then confirmed by photometric calculations.
What LED color temperature is best for residential streets?
2700K to 3000K is typically best. It supports visibility while reducing glare, blue-light impact, and resident complaints compared with cooler white lighting.
How can residential projects cut energy use without reducing safety?
Use LED fixtures around 130 to 150 lm/W, full cutoff optics, and part-night dimming. A 50% dimming schedule from midnight to 5:00 AM can deliver meaningful savings while maintaining essential visibility.
Can Morelux support custom residential lighting pole projects?
Yes. Morelux provides custom steel and aluminum pole solutions, technical drawings, engineer support, and fast quotes for infrastructure and community lighting projects.